In my first article, I wrote about close up filters, an inexpensive way to get into macro photography. In this article, I will be talking about another way to "create" a macro lens. Depending on your situation, this may also be an inexpensive endeavor.
Let's say you just walked your old 50mm lens out to the curb for trash man to pick up. You used it with the old 35mm film camera, but maybe the mount is different than your DSLR or you switched camps and have no use for the old lens.
WHAT ARE YOU, NUTS?!?! YOU JUST THREW AWAY A FREE MACRO LENS! Get back out to the curb NOW!
That's right, if you have an old lens laying around, you don't have to pay another cent. The really great thing about this is that it doesn't matter what brand of lens you reverse. Canon, Nikon, whatever you have on hand
When I bought my Nikon, I thought my old lenses would fit the D50. Turns out most of my lenses are just a little too old. Too bad because I had quite a few. Then I discovered that if you have a lens and mount it to the camera backwards, voila, you have a macro lens.
There are two ways to use your lens backwards. One is an
adapter that will let you mount the lens backwards on the camera. I've even seen a
DIY adapter, though personally I would not use it since it is constructed of plastic and epoxy. Probably not a big deal, but the adapter will probably run you about $15 so DIY will not yield a big savings here.
The second method, which I use, requires two lenses. It turns out that the 80-200mm zoom lens that I had for my old Nikon F
does fit the D50. It's not a fast lens and I probably wouldn't use it for much else anyway. I also have a 50mm f1.4 that does
not fit my D50. Both lenses happen to take a 52mm filter, meaning the front of each lens is the same diameter.
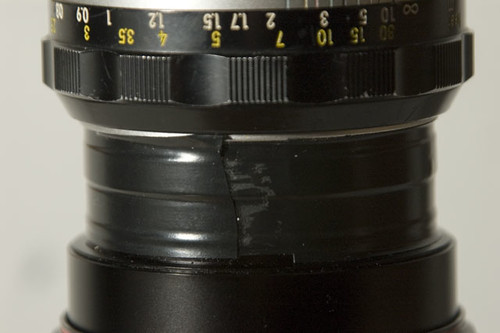
To create my macro lens, I put the two lenses together, as shown in the picture below.
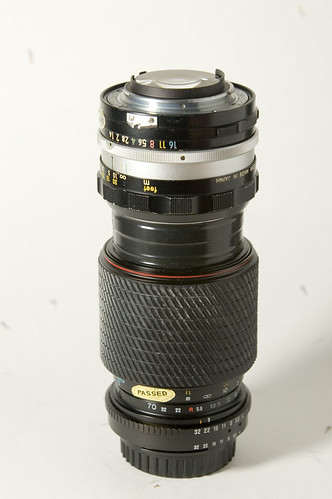
When I first read about this, I was eager to find out how well this would work, and I couldn't locate a macro coupler. So I improvised and used a piece of electrical tape to hold the lenses together. Since I consider this a dedicated macro lens, this works great. The original piece of tape is still holding the lenses in place a year later. I know I dismissed the DIY adapter a minute ago as risky, but really, the tape does work well.
If you want to find the macro couplers, check
here.
What you need to know about this technique is that you have to be extremely close to your subject. Here is why: under normal circumstances, the lens element is designed to focus on the film plane. When you reverse the lens, that distance doesn't change - but instead of the film plane, your macro subject is in that location.
Another important fact, the faster the lens, the better. Unless you are going for a vignette effect, you want the reversed lens to be set to its widest aperture. Also, depth of field is extremely shallow with this technique.
In the previous article, I showed samples of how close you can get with the close up filters. As a reference, here are two shots from last time, and below that two shots with the reversed lens technique.
300mm, no close up filter |
300mm, +7 close up |
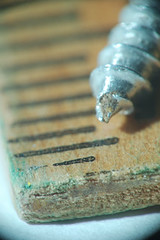
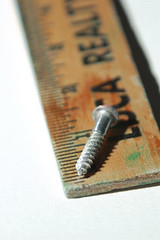
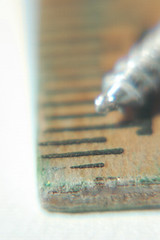
70mm zoom w/ 50 mm reversed | 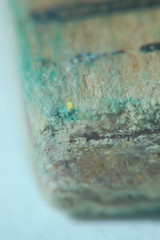
200mm zoom w/ 50 mm reversed |
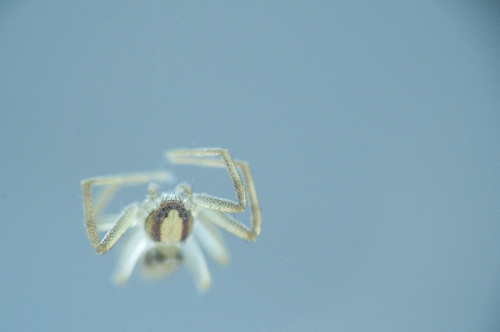
Obviously your results will vary, depending on what lenses are used to comprise your macro lens. Ready for some real world examples? Here are some critters who were cooperative enough to let me get close to them. For reference, the spider descending toward my face was approximately a quarter of an inch in diameter.
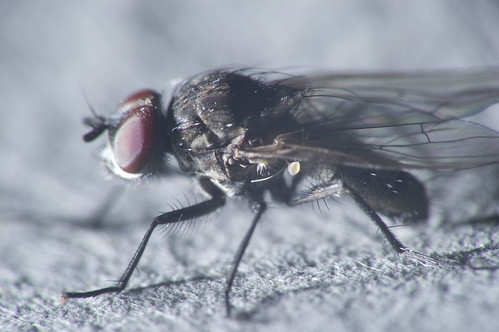
Click on the fly to see a high res version.